How we wrote chicken egg counter on a Raspberry PI
How it started
Besides my main work on Upwork I quite often pick different projets. So I found a project, where I had to write a program for recognizing chicken eggs on a factory stream line. Customer wanted to install the application on computer with web camera, put this camera at a top of stream line and the application had to calculate eggs and send them to the DB. He also wanted to run this program on a cheap computer. The quality of the network in the factory isn’t stable, so the program had to be resilient to outstand the network issues. There was enough challenges for me, so I decided to participate on this project.
The biggest challenge here was that I had no serious experience with OpenCV and image recognition, so I wanted to test myself if I can deep dive into unknown field and return with successful result. Customer wanted to have 99% of recognition.
This whole post will be a story how this application was designed, how it was written and what problems did I faced during the development. I will try to explain each architecture decision, from the beginning and to the end of the project.
To intrigue, The final result look like following:

How to track eggs ?
That was my first question - how can we track eggs ?
The general idea is that we have a computer, running on Linux system, a webcamera, which takes camerashots from the conveyor and we have all the time moving eggs in one direction(it was a wrong assumption, because conveyor can stop and go opposite direction).
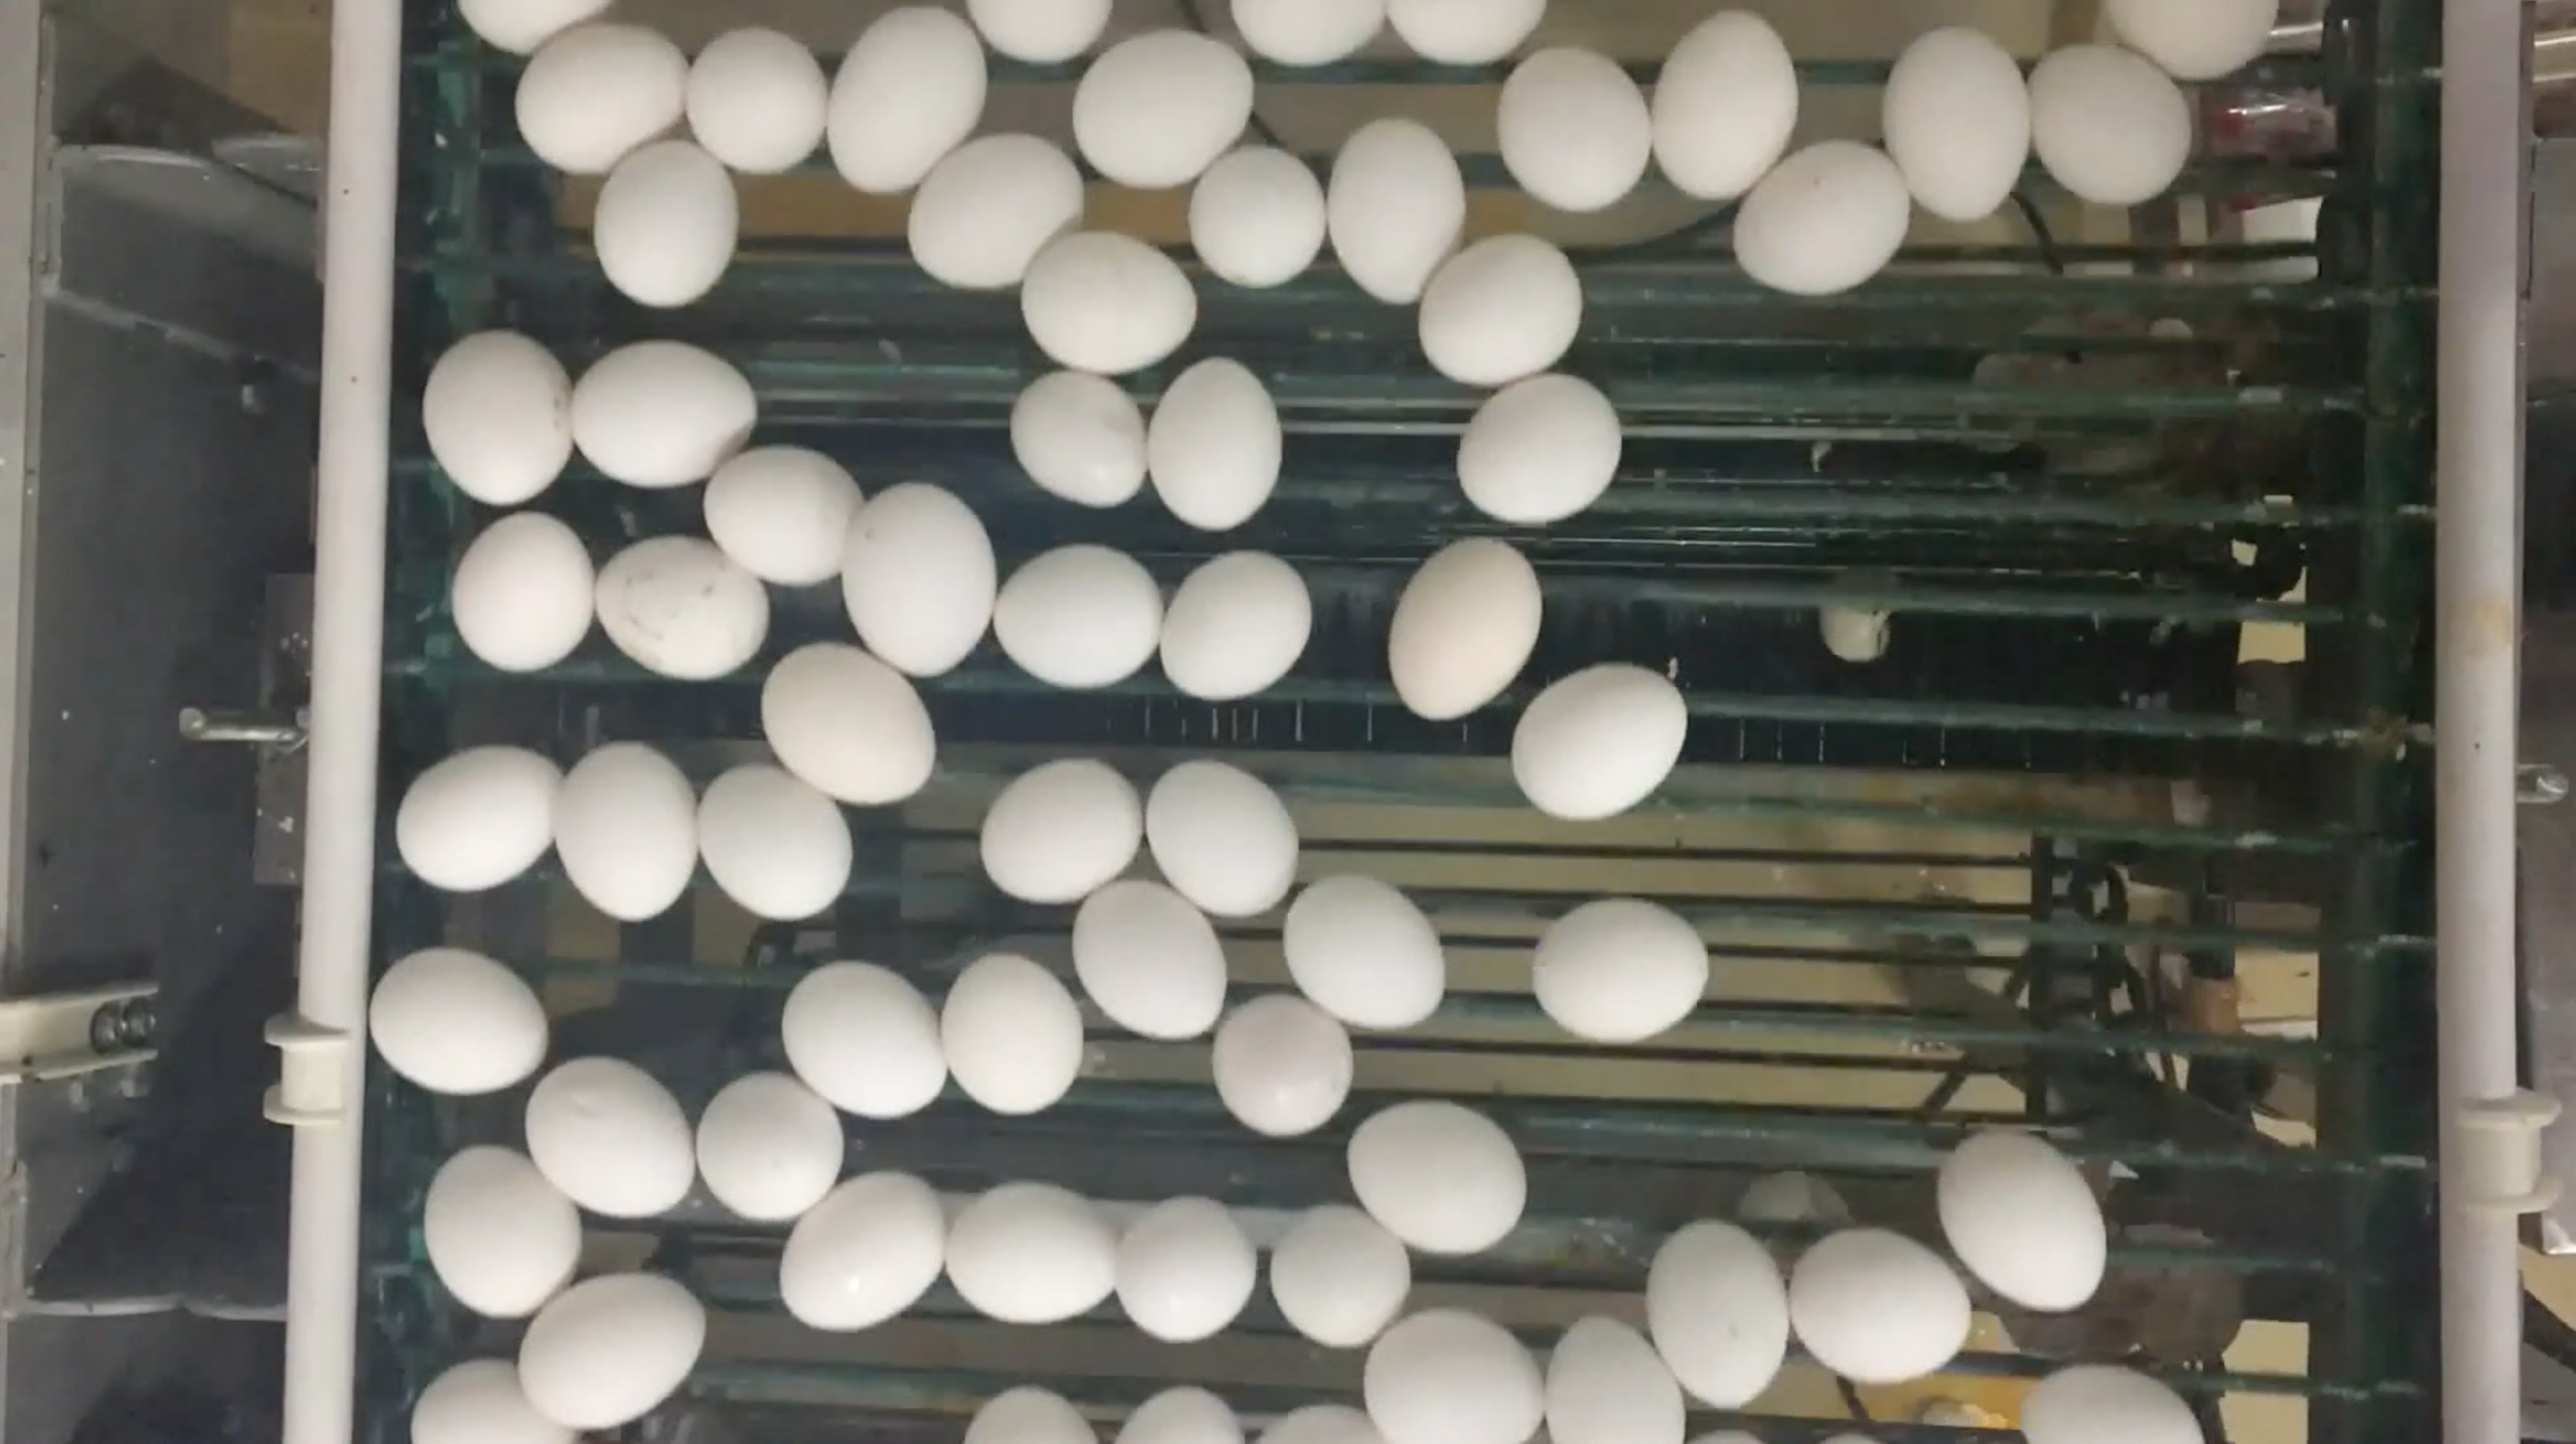
We need to take those camerashots, find eggs and compare them with previous iteration. If some new figures appear, we need to treat them in one way. If existing figures occur with some delta move(we can check the euclidian distance), then we need to update their centers and positions. If some eggs were not found, we need to release them.

Later, we decided to give an option to set interval between getting webcam shot.
How to recognize an egg ?
Okay, we know how to track eggs, in general, now we need to understand how to recognize them within a single iteration. According to the documentation and articles that I read, we need to do following steps:
- Convert image to grayscale
- Apply blur
- Apply thresholding operation
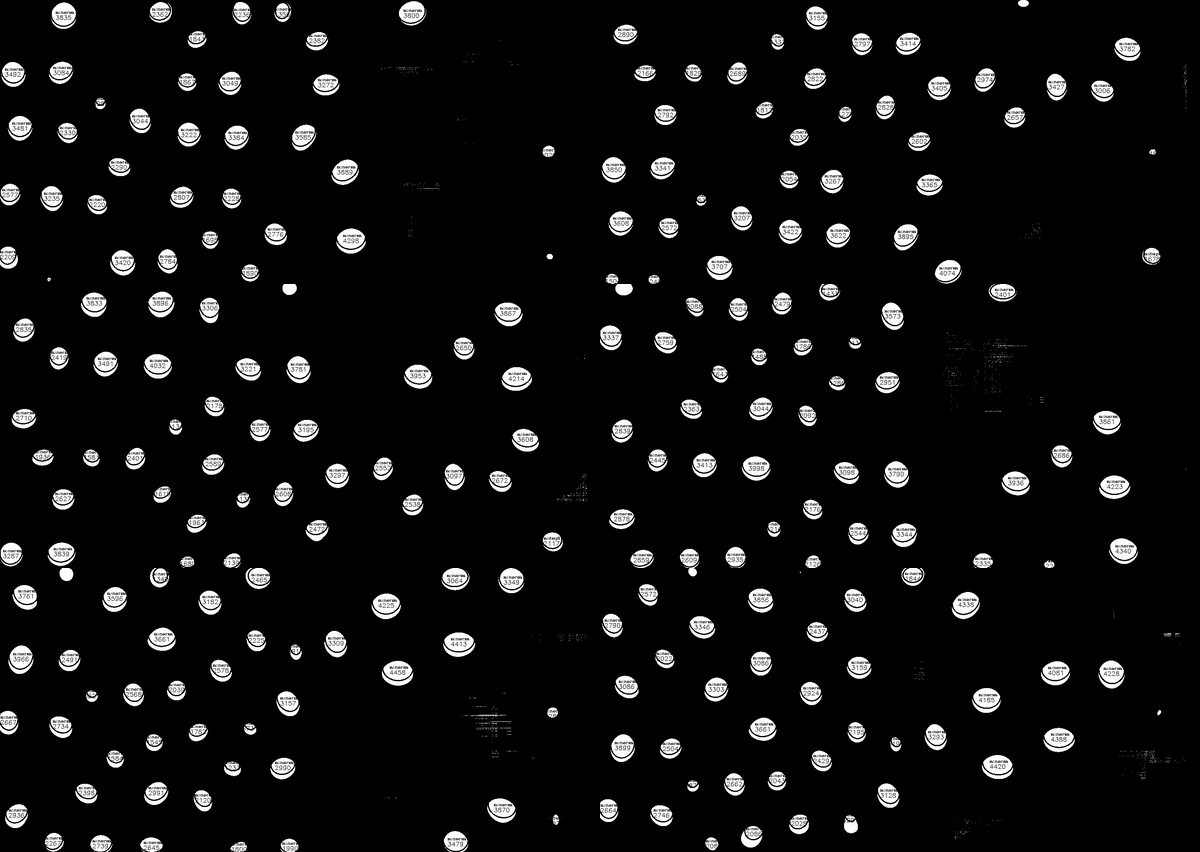
Here’s how the process of transformation looks, step by step.

Then, we get this final image and try to get contours of the figures by using
findContours function. When we find them, we try to create an ellipse from this contours.
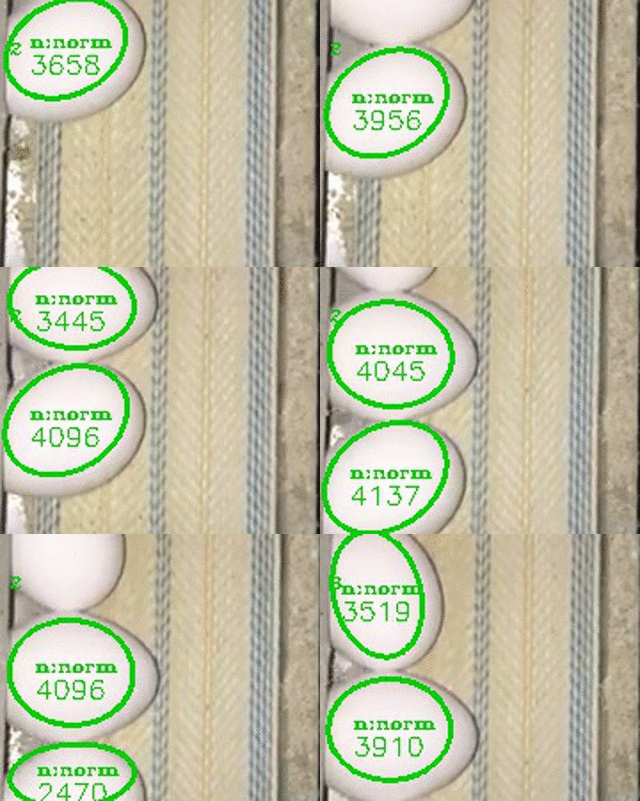
Definition of counted egg
We decided that the most efficient way to count released egg is to count it, when it disappears from the screen, or in other words, approaches to the end of the conveyor. Then, OpenCV doesn’t find it, we detect it, since we store a list of eggs and we finally can release it.

End of the conveyor?
Yes, because we use this term, this means we have implemented direction detection. We have a structure, which tracks eggs and determine the detection: from top to bottom, from bottom to top, left-right and right-left directions.
Following logs:
13:50:02.869 [main] INFO  c.h.r.conveyor.DefaultConveyor - Detected direction:
DefaultDirection(size=480x480, determinationCount=3, directionMap={LEFT_RIGHT=3}, determined=3, directionType=LEFT_RIGHT)
How we do it ? At the beginning, the goal is to determine the direction, so we compare first and second iterations and calculate the direction. But from our experience, this approach can be buggy, when there’re vibrations, wrong movements and so on. So we decided to recalculate direction detection algorithm first N iterations and get the right direction.
Area limitation
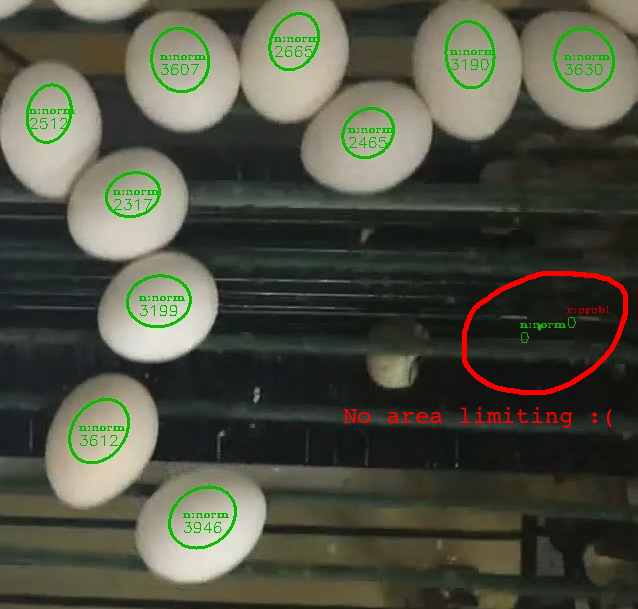
During the project development we were thinking how to fight with false positives. After two days of designing and writing code we got first test video from the chicken conveyor and noticed, that our algorithm recognized little white points as eggs and count them.
So, we decided to do area limiting. We can choose desired egg area and check if it fits our limits.
Here’s a good example what problems can we have if we don’t do area limiting:
Cropping
Just when we did an area limitation, I got an idea, that the overall result could be better if we could crop our image. There’s no need to take a whole picture if we searc eggs only in some particular area ?
We added a cropping method. We noticed, that the overall result of recognized eggs increased for around 10%.
Cropping was very useful way of ignoring false positives, because the less area we have, the less mistakes we can made.

Eggs overlapping
There’s a problem: sometimes eggs roll down around to each other and our detection approach works wrong, because it recognizes two eggs as one big egg.
There’s two stories for this chapter, one is how to create a workaround and another is how to go a longer way, but get a better precision.
Our easy solution was to use BINARY thresh method and set it to the value, when actual egg on a processed image will have half of it’s real size.
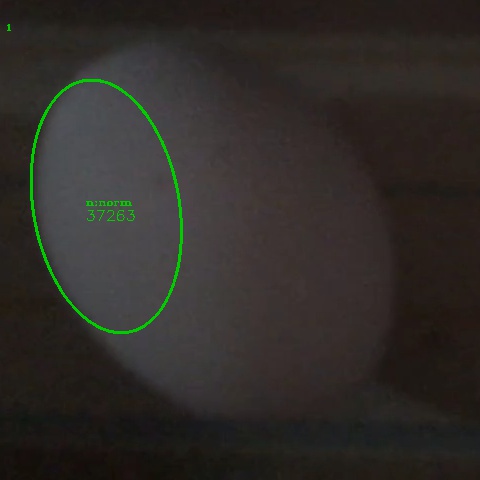
I called it a workaround. For sure, it will fix a problem with eggs overlapping, but it will bring a new problems. First of all, since you are decreasing the size of egg on a processed image, there’s a big risk that some eggs will dissapear at all. Actually, this thing happened with us. Here’s the best example:

Since we had a requirement of 99% recognition precision, this workaround approach gave us only 94%. So we started to think how to do it better.
After research we came up with better processing algorithm. It gave us 99% of precision. Here’s what we did to accomplish it:
- Perform a BGR->HSV conversion
- Split into channels
- Get V channel
- Apply morphological closing
- Take a distance transform
- Create a template. From the sizes of the circles in the image, a ~75 pixel radius disk looks reasonable. Take its distance transform and use it as the template.
- Perform template matching
- Find the local maxima of the resulting image. Location of the maxima correspond to circle centers and max values correspond to their radii
- Find contours
Here’s how the final processed image will look like:

If you compare this image with the previous one, you can notice that we now recognize images at the top-right corner.
However nothing comes with no consequences. After switching to the new algorithm performance has dropped a lot and our performance was not so fast as it was before. Customer got his 99% precision, but decided to use simpler algorithm, in order to run it on existing hardware.
Core framework
Long story short, we know how to work with OpenCV, now it’s time to design an architecture of Core API. I called it like this because I wanted to separate other parts - Data Layer, UI part.
First problem. Since this project works with webcamera, running above factory conveyor, I knew that I won’t be able to reproduce this in my tests. So I invented a notion of Capturer - an interface, which had a single method - capture. This method returns a camerashot, and it doesn’t matter where you get it - from video or from a webcam. Additionally, I used Decorator pattern in order to be able to crop camerashot. Here’s an example how it looks:
Capturer capturer = new CroppedVideoCapturer(
        new VideoCapturer("conveyor/video/many-eggs.mov"),
        new Point(340, 100), new Size(1480, 700)
);
Then, I had an image, I needed to process it. I called this entity as Filter. The main idea is that he took the image, applied required filters and returned a filtered image. I have two implementations for now: DefaultFilter and AdvancedFilter. Here’s an example of DefaultFilter:
Mat gray = new Mat();

Imgproc.cvtColor(mat, gray, Imgproc.COLOR_RGB2GRAY);

Mat blur = new Mat();
Imgproc.blur(
        gray, blur,
        new Size(configuration.getBlurConfig().getWidth(), configuration.getBlurConfig().getHeight())
);

Mat thresholdOutput = new Mat();
Imgproc.threshold(
        blur,
        thresholdOutput,
        configuration.getThreshConfig().getThresh(),
        configuration.getThreshConfig().getMaxVal(),
        configuration.getThreshConfig().getThreshType().getType()
);

return thresholdOutput;
Finally, when I had everything ready, I created a Detector - an entity for detecting contours, applying different conditions for them and filtering them out. Here’s how it looks:
if (mat.empty()) {
    return Collections.emptyList();
}
List<Figure> rects = new ArrayList<>();

List<MatOfPoint> contours = new ArrayList<>();
Imgproc.findContours(
        mat,
        contours,
        new Mat(),
        Imgproc.RETR_TREE,
        Imgproc.CHAIN_APPROX_NONE,
        new Point(0, 0)
);

for (MatOfPoint matOfPoint: contours) {
    if (matOfPoint.toList().size() > 5) {
        RotatedRect rect = fitEllipse(new MatOfPoint2f(matOfPoint.toArray()));

        double area = rect.size.area();

        if (area >= configuration.getMinArea() && area <= configuration.getMaxArea()) {
            rects.add(
                    new Figure(rect, 0)
            );
        }
    }
}

return rects;
How tests saved our time
When I started to design the architecture, I began to understand that I stronly need to have tests, which will guarantee, that after each change my recognition algorithm will remain operational.
This was the exact case, when I understand that if I will broke something and ignore/forget about it, troubles may happen, because I then have to spend a lot of time finding the root cause of the bug I made earlier.
Spoiler: when I was finishing the project, I was very happy to have this tests, because they prevented me from doing a lot of mistakes in OpenCV part.
Local storage
We knew, that internet connection is not going to be stable in a places, where our application will run. So we had to think how to handle this special cases. I was thinking of using SQLite or other embedded databases, but the main concern was that I won’t need wide variety of their functions. I wanted to have ordering, so the eggs will be sent in an order they were released, so I needed another structure. After all, I noticed that Queue structure is a perfect candidate for my needs: I can poll the eldest eggs and save new eggs in the ends of the queue. The only question I had is that if there are persistent queues ? I found square/tape project and decided to use it.
Summing up, whenever I released an egg, I put it in local file queue.
Persisting to the database
Okay, we have our local queue and a bunch of released eggs there. How to put them in a regular database? I decided to use a regular scheduled task, which checks local queue for new elements and inserts them into the database.
UI part
We wanted to create a simple UI for our needs - settings adjustments
UI part is very easy - two camera views(camera + processed camera) and settings page.

Customer didn’t ask for any UI part, but we understood that it would be very hard to launch a console app, so we managed to convince customer to write a simple UI.
We have two views: main and settings views.
Hardware
Guys wanted to run this application on something cheap. So I got my Raspberry PI, first model, with 512 MB RAM and started my long one-week journey on how to install OpenCV to it. In the end, I managed to do it, but our application was running very slow on it.
So i decided to try Raspberry PI 3 with Quad Core processor and 1 GB of RAM. The application felt itself more comfortable, the only problem was that I couldn’t turn on two image views on UI, otherwise application starts lagging.
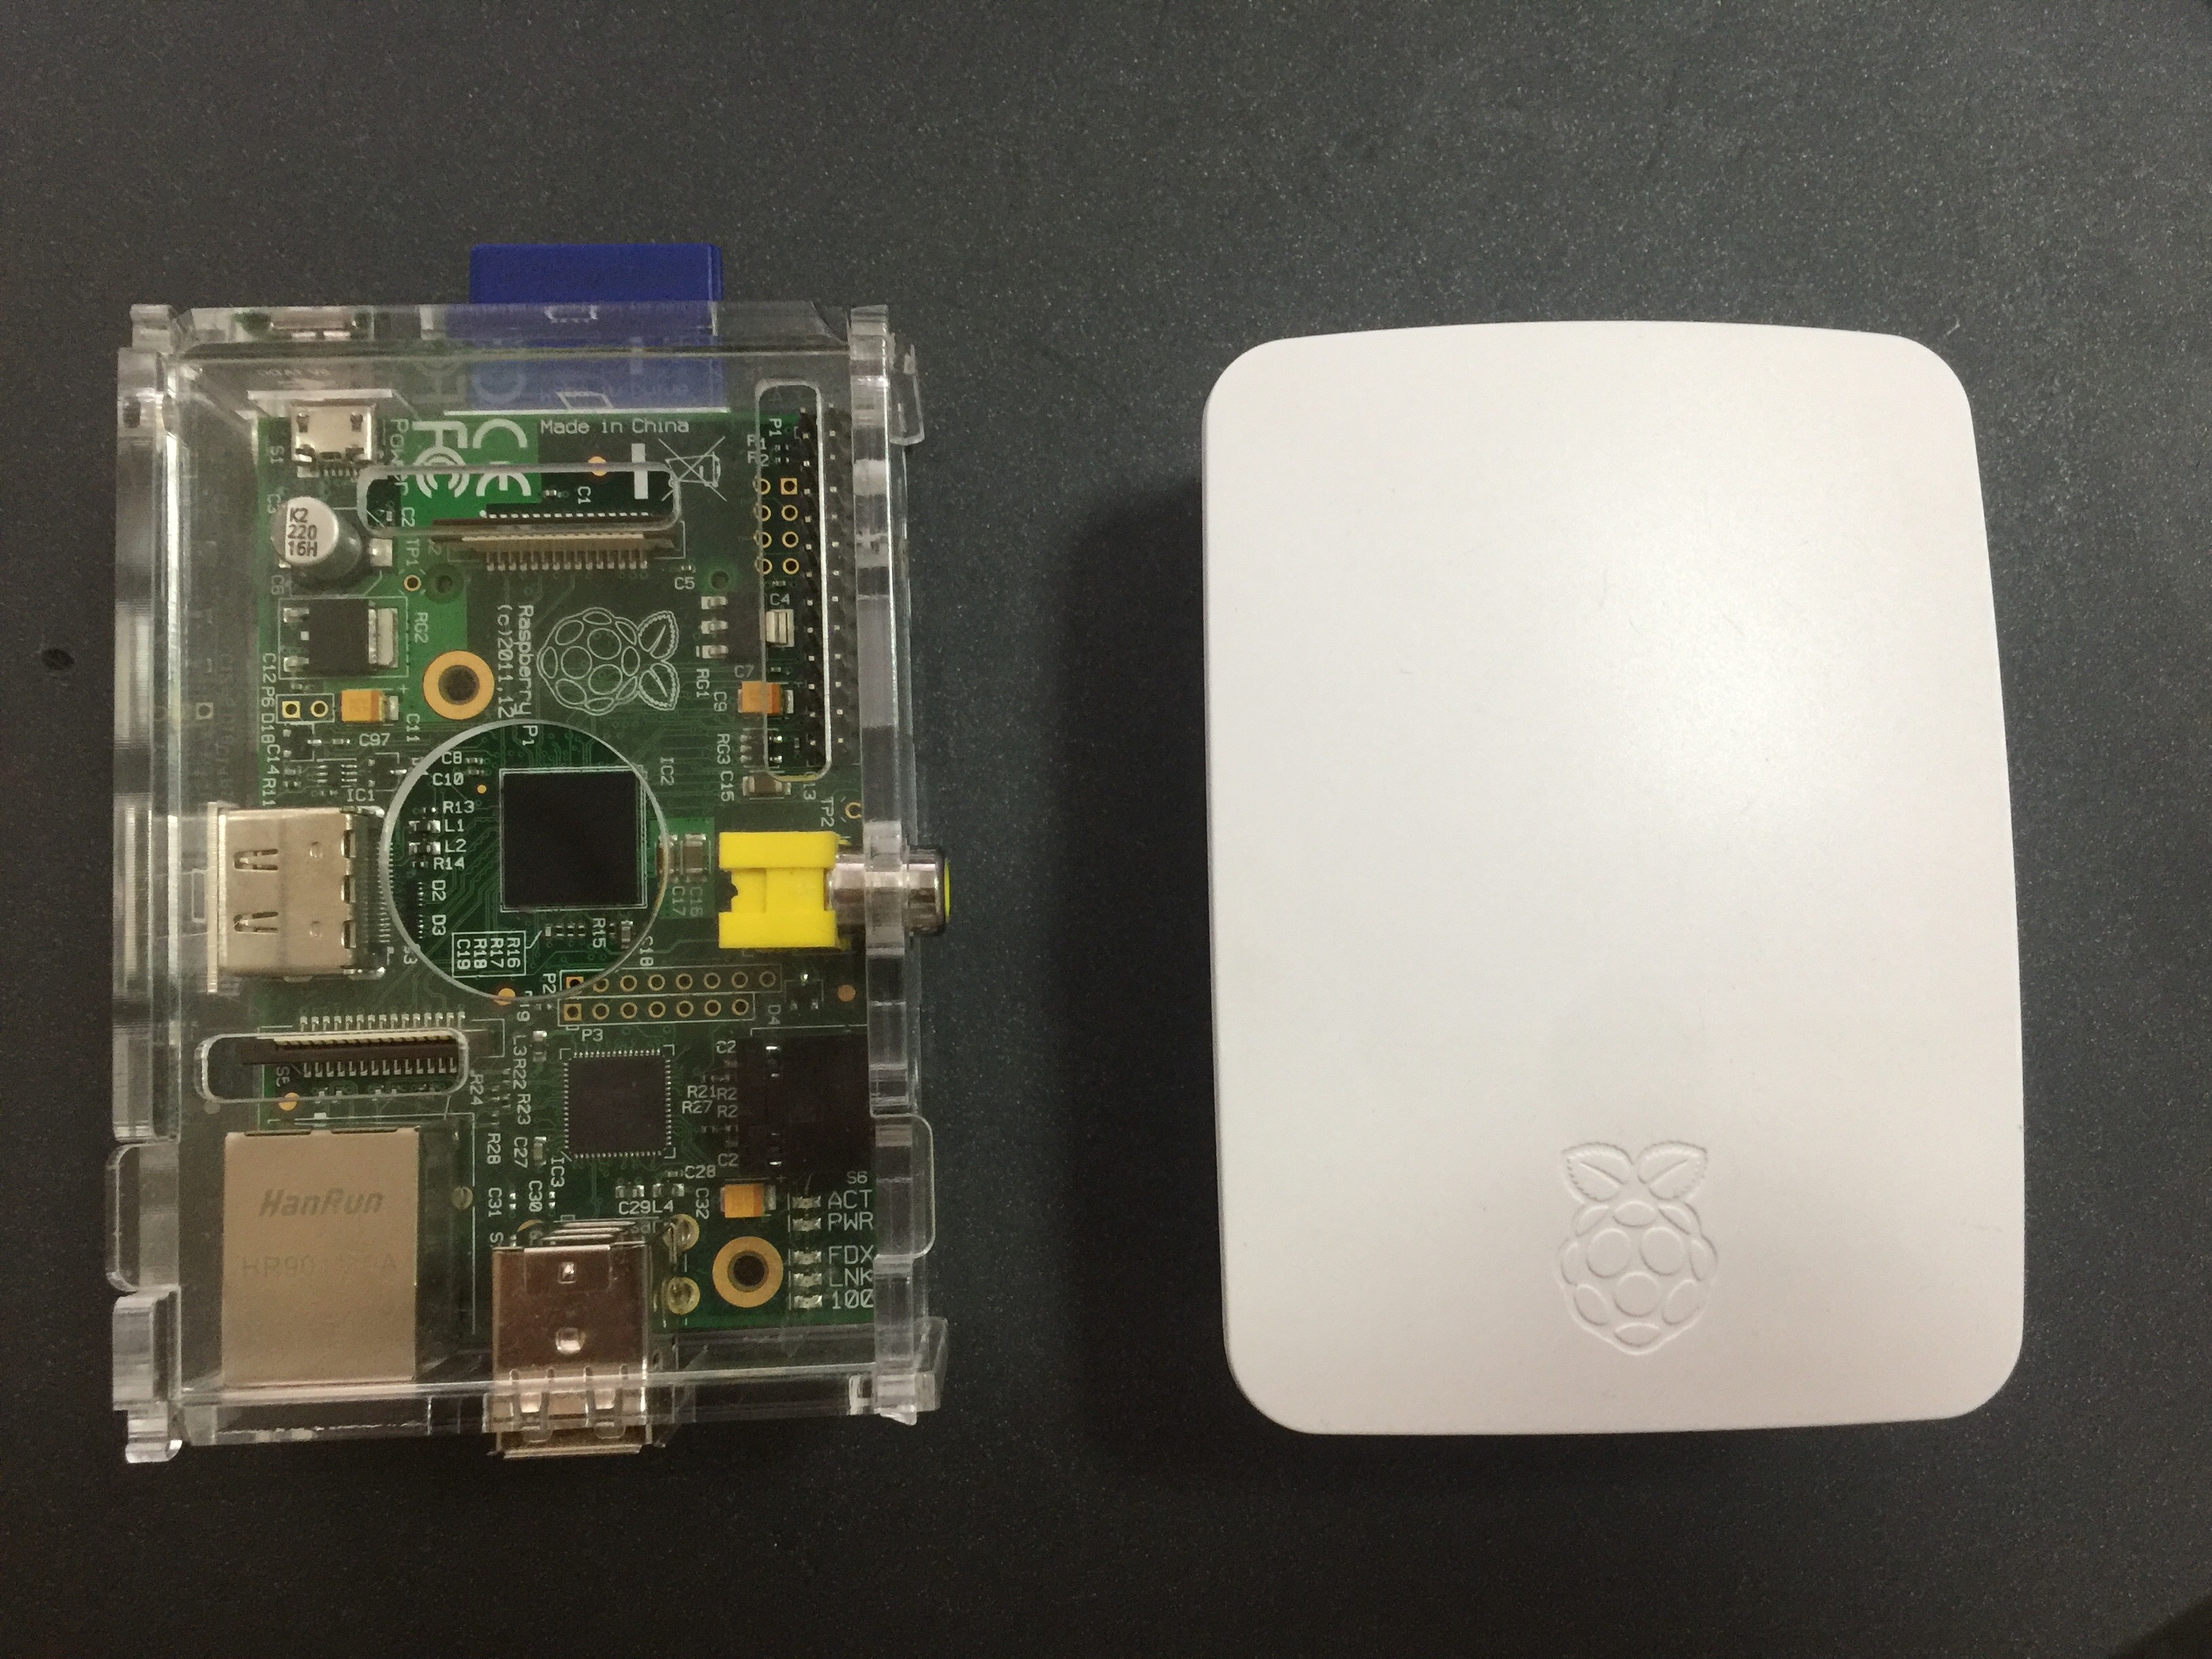
Raspbian image with preinstalled OpenCV and Java
I did around one week of attempts to install OpenCV on Raspberry PI and I managed to install it. I saw some resources, where people try to sell this images. I don’t understand their logic, so I am ready to send image to everyone who will ask.
Conclusions
This project started at 15 of July and we finished development on 5 of August. We have around 100 commits in git repository, predefined SD card, two Raspberry PI and a lot of experience from this field of software development.
A stack of languages/tools/frameworks in this project:
- Java as a programming language
- OpenCV as a computer vision library
- Maven as a build tool
- Project Lombok for cleaner code
- Junit
- Slf4j/Logback for logging
- Guava for internal event processing
- Square/Tape as a file queue
- JavaFX for writing UI part
- PostgreSQL, Spring JDBC, Liquibase


