Deploying your application to cloud using docker-machine
Problem
As a part of my investigation of what docker is, I want to do a simple and useful thing - deploy my application in a completely convenient manner. Let’s say, I’m using Digital Ocean as a cloud provider. Because my application is too little to think about complex deployment infrastructure, I’d like to be able to deploy everything from my laptop using digitalocean token.
Solution
I’ll try to deploy everything using docker-machine, together with digitalocean cloud provider. I’ll describe in step by step how to do this.
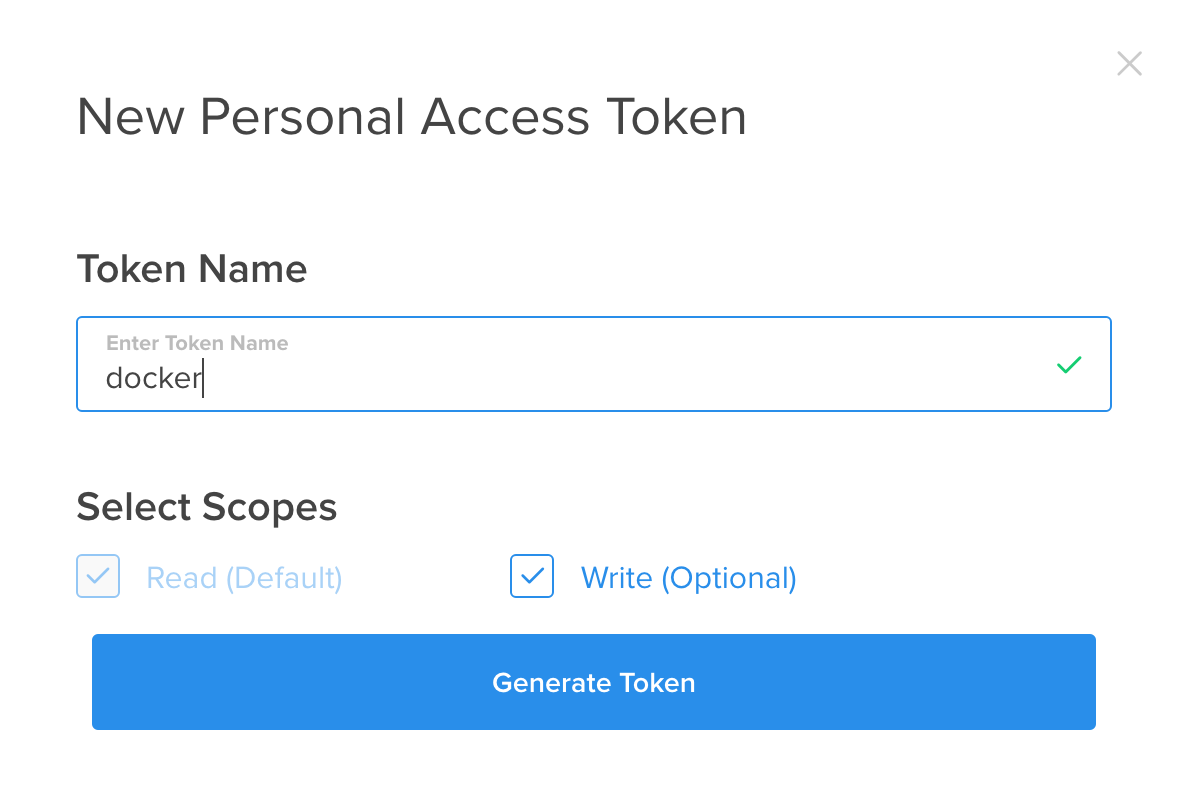
Setup a new digitalocean token.
Go to cloud.digitalocean.com/settings/api/tokens and generate a new token

Then, got your token, and execute following commands to export your instructions for further commands. You will understand why do we need them later.
export DIGITALOCEAN_ACCESS_TOKEN=${newly-generated-token}
export DIGITALOCEAN_PRIVATE_NETWORKING=true
export DIGITALOCEAN_IMAGE=debian-8-x64
Create new machine
As simple, as it can be - I’ll create a new digitalocean instance. Open your terminal, and type following command.
docker-machine create \
  -d digitalocean \
  my-application
Few explanations, -d digitalocean means, that you will use digitalocean for deployment. Out of the box, digitalocean will use exports, that we set some minutes ago.
While we’re waiting till our console end up deploying to docker, let’s open our digitalocean droplets page, and see how it’s beatiful, we are using console, and ignore any ui cloud tools.

Connecting to docker
So, our console shows following
➜  queued-rest-api git:(master) ✗ docker-machine create \
>   -d digitalocean \
>   my-application
Running pre-create checks...
Creating machine...
(my-application) Creating SSH key...
(my-application) Creating Digital Ocean droplet...
(my-application) Waiting for IP address to be assigned to the Droplet...
Waiting for machine to be running, this may take a few minutes...
Detecting operating system of created instance...
Waiting for SSH to be available...
Detecting the provisioner...
Provisioning with debian...
Copying certs to the local machine directory...
Copying certs to the remote machine...
Setting Docker configuration on the remote daemon...
Checking connection to Docker...
Docker is up and running!
To see how to connect your Docker Client to the Docker Engine running on this virtual machine, run: docker-machine env my-application
Last line is the line that you should pay attention with - it.
To see how to connect your Docker Client to the Docker Engine running on this virtual machine, run: docker-machine env my-application
Let’s run docker-machine env my-application
export DOCKER_TLS_VERIFY="1"
export DOCKER_HOST="tcp://104.131.4.132:2376"
export DOCKER_CERT_PATH="/Users/ivanursul/.docker/machine/machines/my-application"
export DOCKER_MACHINE_NAME="my-application"
# Run this command to configure your shell:
# eval $(docker-machine env my-application)
So, by running eval $(docker-machine env my-application) we can connect to our docker instance, right ? Let’s do it. There’s no input after running this command, so, don’t worry. Think about it, as about switching contexts. You switch your docker context to another machine, for this case, in the cloud. After command above, you are working with docker, which is located in the cloud, and can potentially, run your web application.
What’s next ?
So , we have connected to docker straightly and can start executing any commands. If we have some folder with our application, we need to write instructions about how to deploy it. It’s called Dockerfile.
Running our app inside docker instance
I’m not going to write anything about Dockerfile, feel free to investigate it by yourself. Let’s suppose, you have Dockerfile. So, go to your terminal, cd to folder, where Dockerfile is present and execute following command:
docker build -t "my-application" .
It should result in similar output
Sending build context to Docker daemon 29.58 MB
Step 1 : FROM java:8
8: Pulling from library/java

5c90d4a2d1a8: Pull complete
ab30c63719b1: Pull complete
c6072700a242: Pull complete
5f444d070427: Pull complete
620b5227cf38: Pull complete
3cfd33220efa: Pull complete
864a98a84dd2: Pull complete
734cc28150de: Pull complete
Digest: sha256:2b840b021b8753dd18da3491d362999980e6636b4a3064ff57bf17ea6dbce42f
Status: Downloaded newer image for java:8
 ---> 264282a59a95
Step 2 : ENV APP_DIR /srv
 ---> Running in f303ecc96d60
 ---> 6ba44f5d96db
Removing intermediate container f303ecc96d60
Step 3 : WORKDIR $APP_DIR
 ---> Running in 48988746fa2b
 ---> 72154b0c43b2
Removing intermediate container 48988746fa2b
Step 4 : ADD ./build/libs/queued-0.1.jar $APP_DIR/queued.jar
 ---> c88d3ddabf0e
Removing intermediate container 1f7d9997ed39
Step 5 : CMD java -Djava.security.egd=file:/dev/./urandom -jar queued.jar
 ---> Running in d9d377cd1bc3
 ---> dedd6291688f
Removing intermediate container d9d377cd1bc3
Successfully built dedd6291688f
So, we build a image with tag ‘my-application’, let’s run it ?
Running docker image on server
Just execute this command
docker run -d \
  -h my-application \
  -p 8080:8080 \
  --restart always \
  my-application
Testing my-application
First of all, let’s ignore any ui, and try to get as much information from console, as we can. We need to get ip address of the machine, so, this command will do the work
docker-machine ip my-application
➜  queued-rest-api git:(master) ✗ docker-machine ip my-application
104.131.4.132
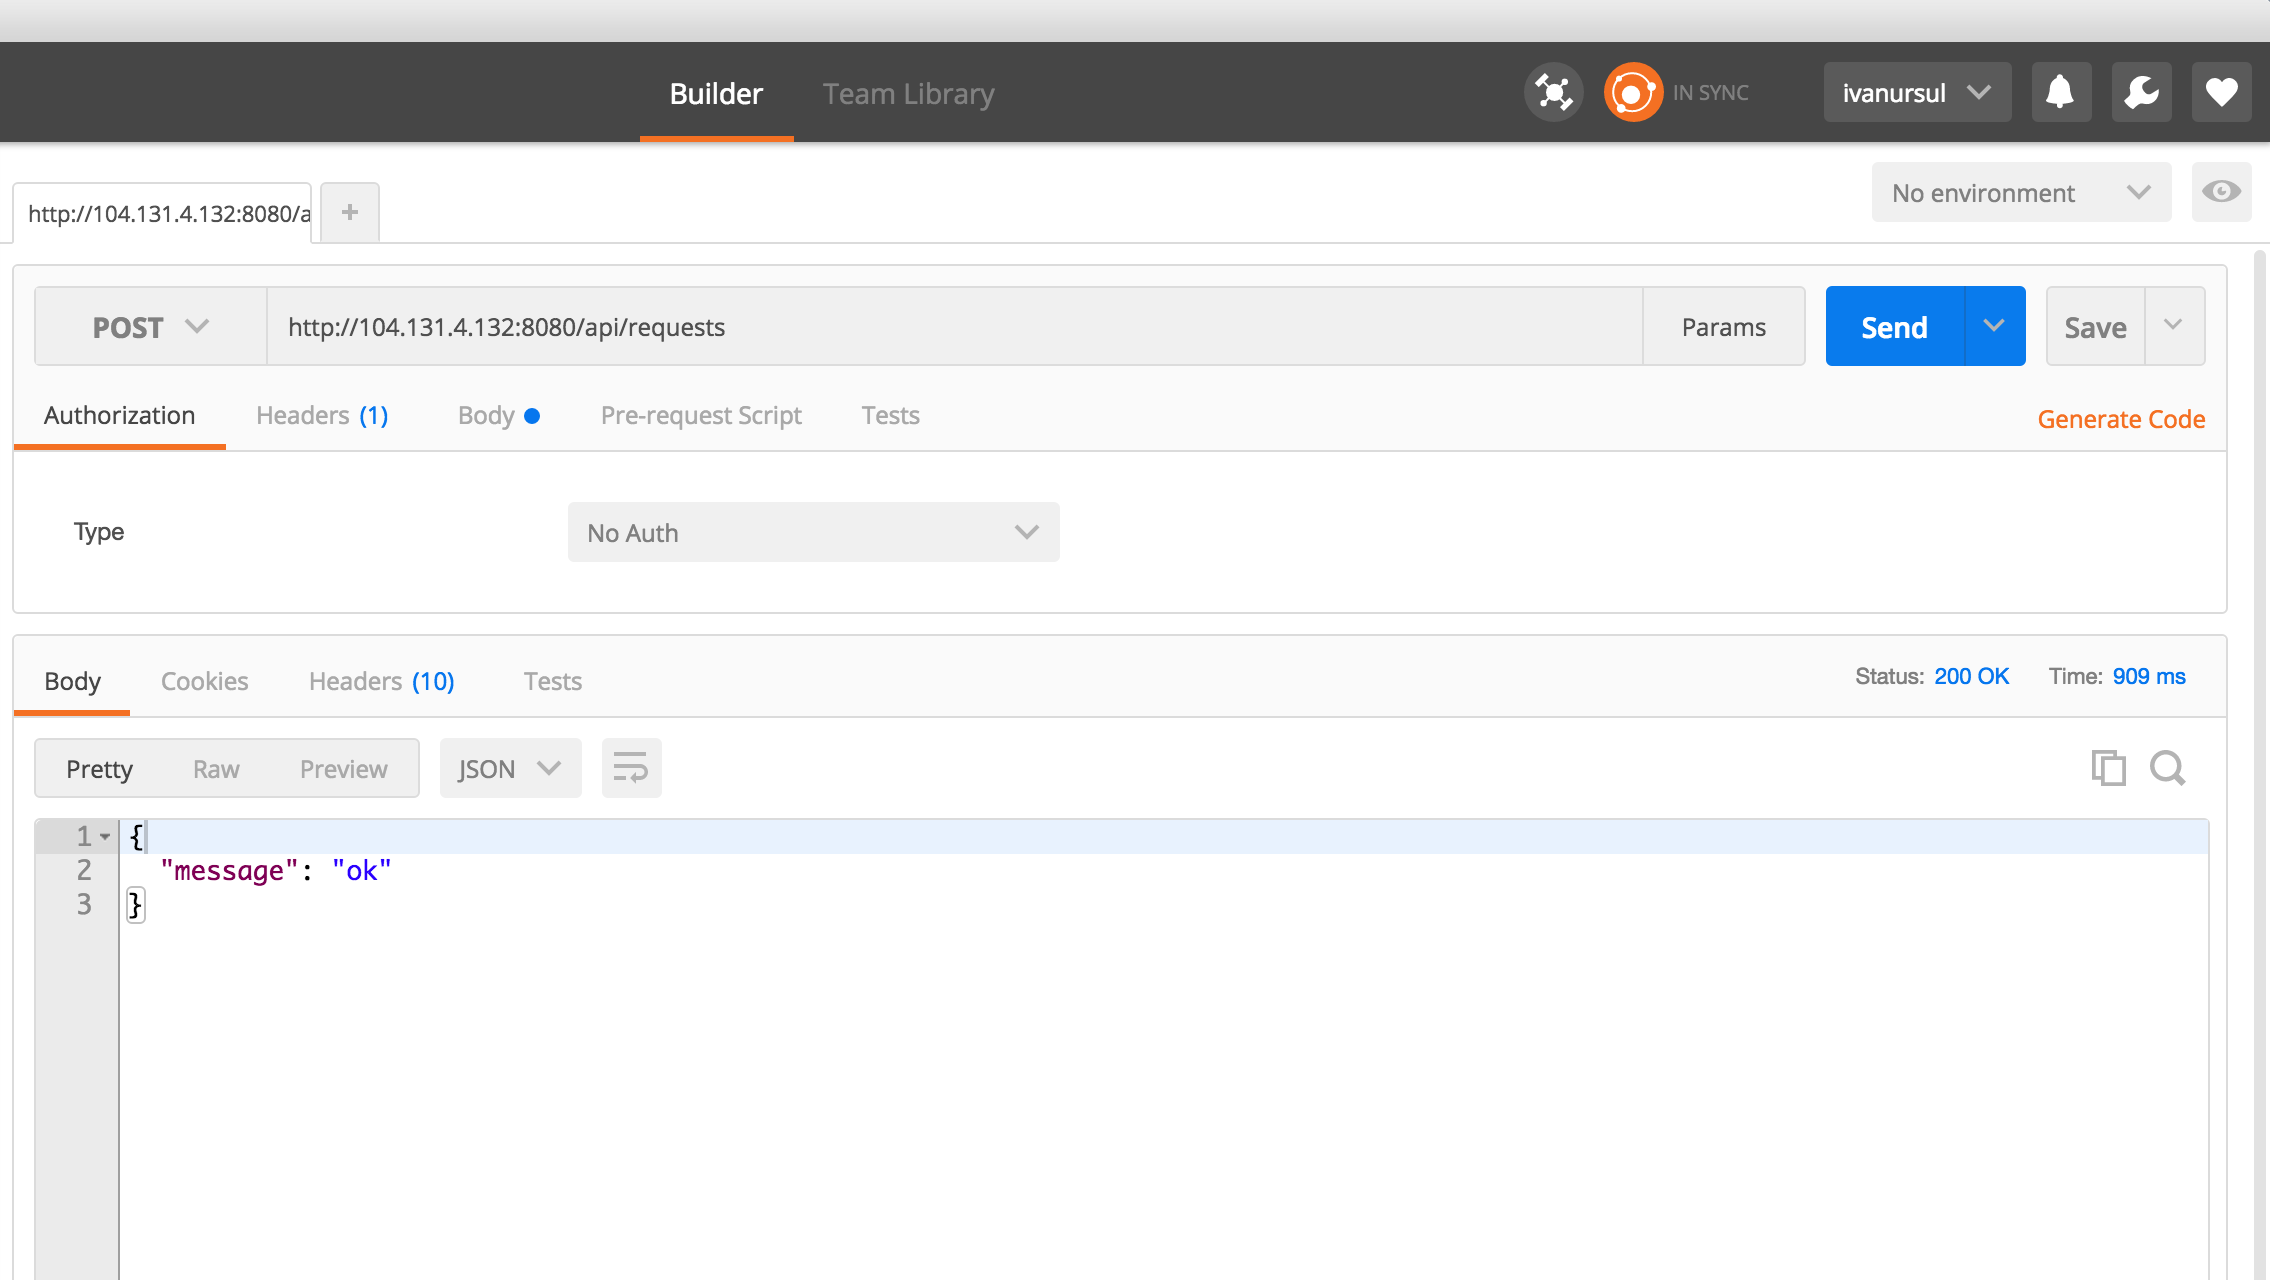
Believe me, or not, but then I enter postman app, sent request, and received message.

Of course, it’s not a proof, so, I encourage you to try this steps for yourself.
Don’t forget to remove your docker instance
As you remember, you are playing with cloud, and pay money for machines, so don’t forget to remove your machine
docker-machine rm my-application
Make sure you don’t see any digitalocean droplets with name ‘my-application’.


